When encountering issues such as data loss or source disk damage, you can restore disk data from a previously backed-up image file to one or more target disks.
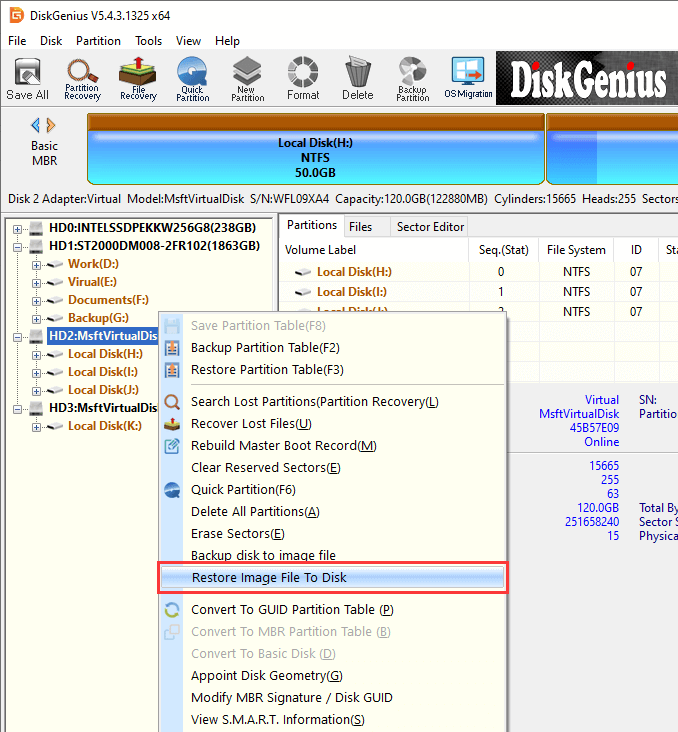
Step 1. Right-click the destination disk where you want to restore the disk image file, then select "Restore Image File To Disk", or click the menu "Disk" – "Restore Image File To Disk".
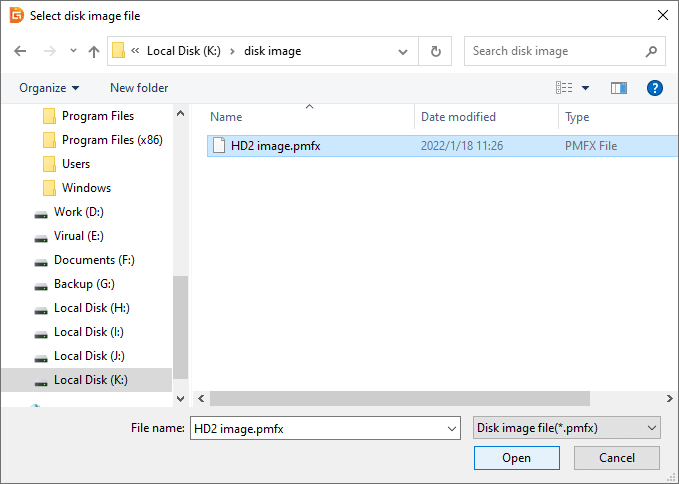
Step 2. In the "Select disk image file" dialog, locate and select the disk image file you want to restore, then click "Open".
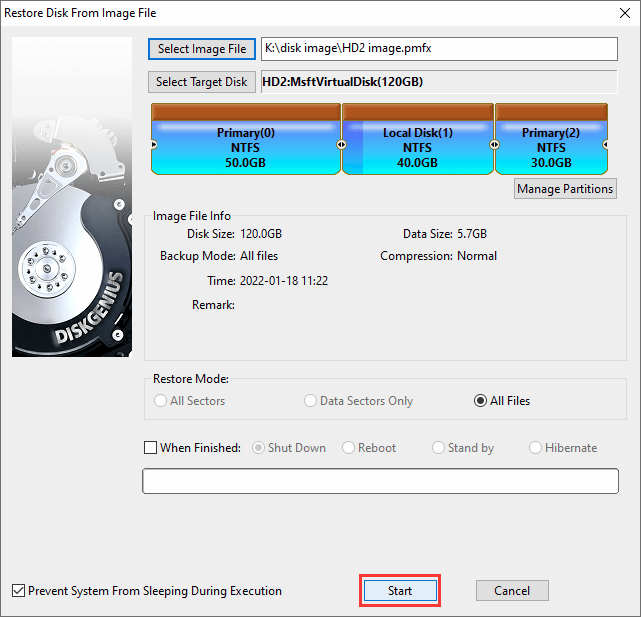
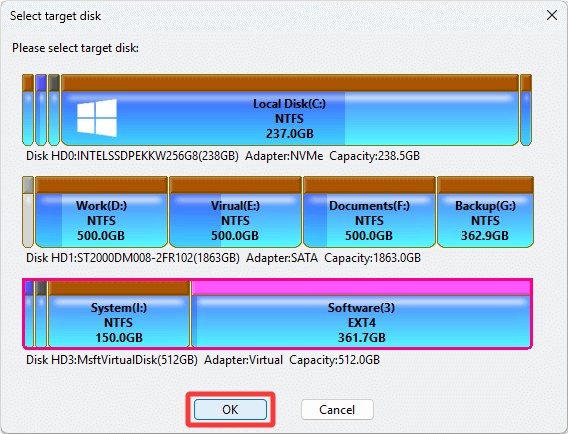
Step 3. Confirm whether the selected target disk is correct. After confirming, click the "Start" button.
Note: If you need to restore the image file to multiple target disks simultaneously, before clicking "Start", follow these steps to add additional target disks:
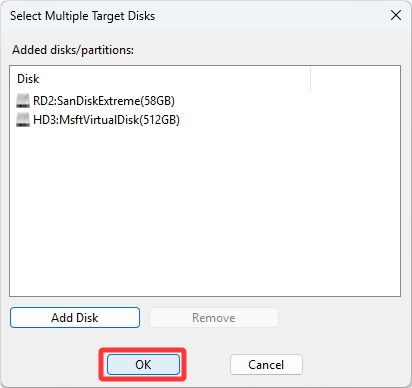
Click the "Add Target Disk" button, then in the pop-up "Select Multiple Target Disks" dialog box, click "Add Disk".
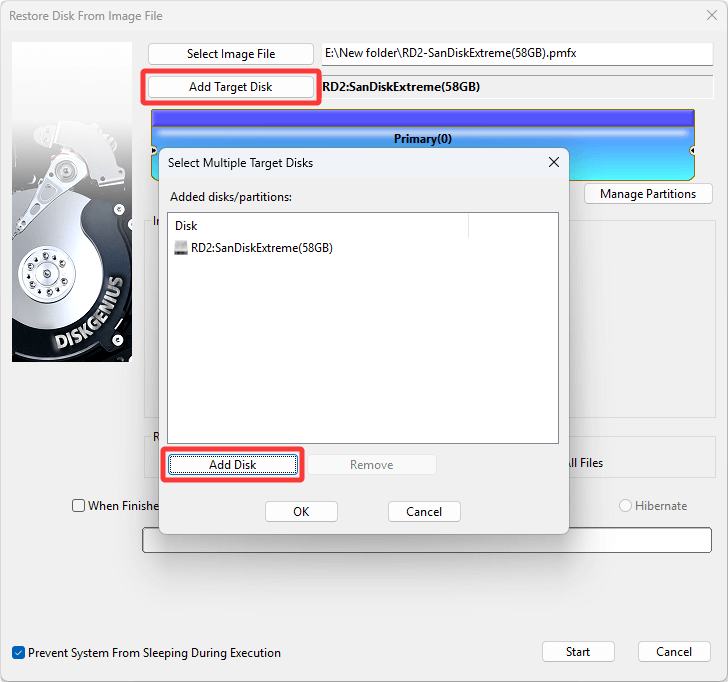
Select the disk you want to add from the list and click "OK".
Repeat the above operations to add more target disks. After all target disks have been added, click "OK" to return to the "Restore Disk from Image File" dialog box.
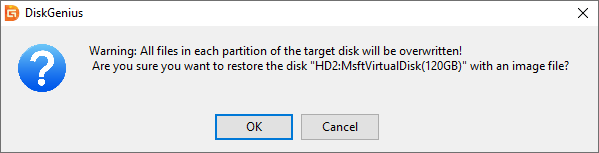
Step 4. A warning message will appear indicating that all partitions and data on the destination disk will be overwritten. Please make sure any important data has been backed up before continuing. Click "OK" to start restoring the disk image.
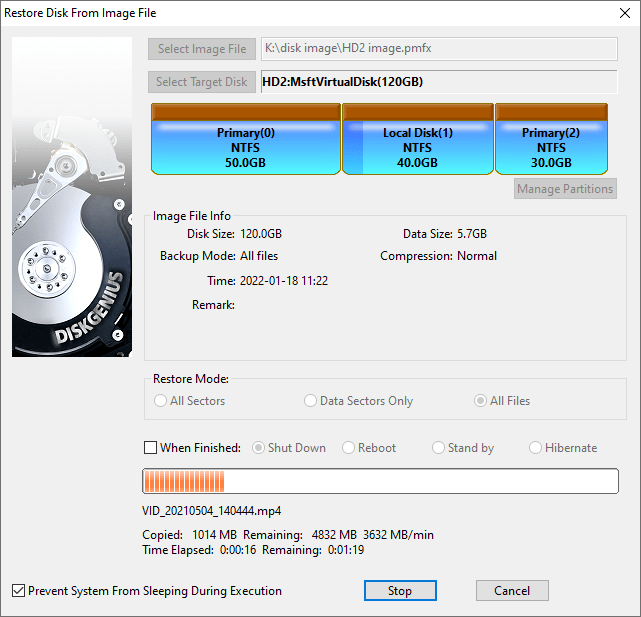
Step 5. Wait for the disk restore to complete.


 Facebook
 YouTube
 X
X